



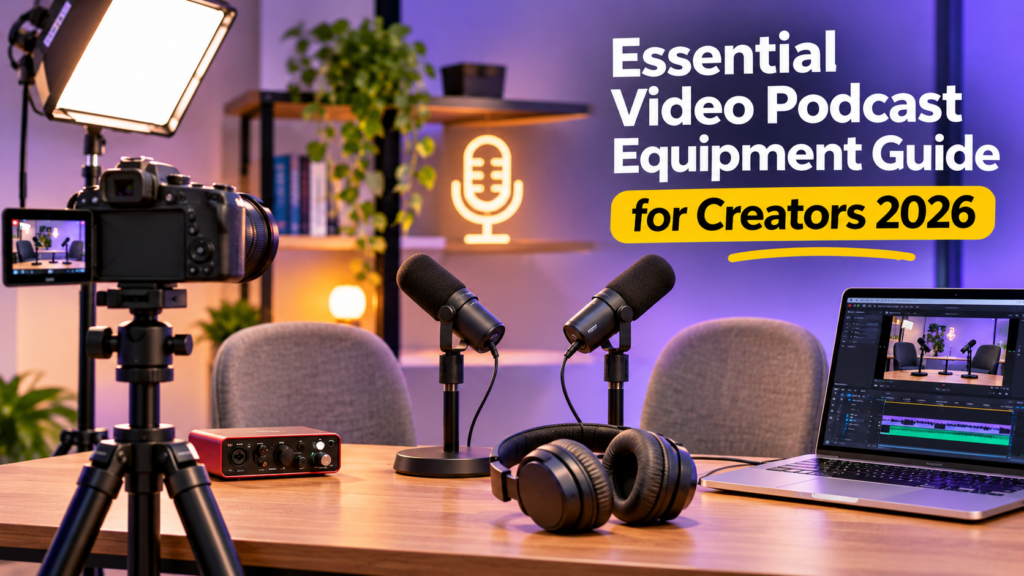
A full setup often comprises a microphone for each speaker, headphones, a camera or smartphone, stable supports, good lighting and a recording system. This blog covers all the essentials for building a good video podcast setup.
5 Essential Areas to Consider When Choosing Video Podcast Equipment
You need to design your podcast equipment around the format you will record in and what you need for your production. A solo podcast involves fewer connections than a two-person chat. Remote interviews also require adequate equipment at the site of each participant.
There are five main areas to consider when buying your video podcast equipment.
1. Identify Your Recording Requirements Before Buying Equipment
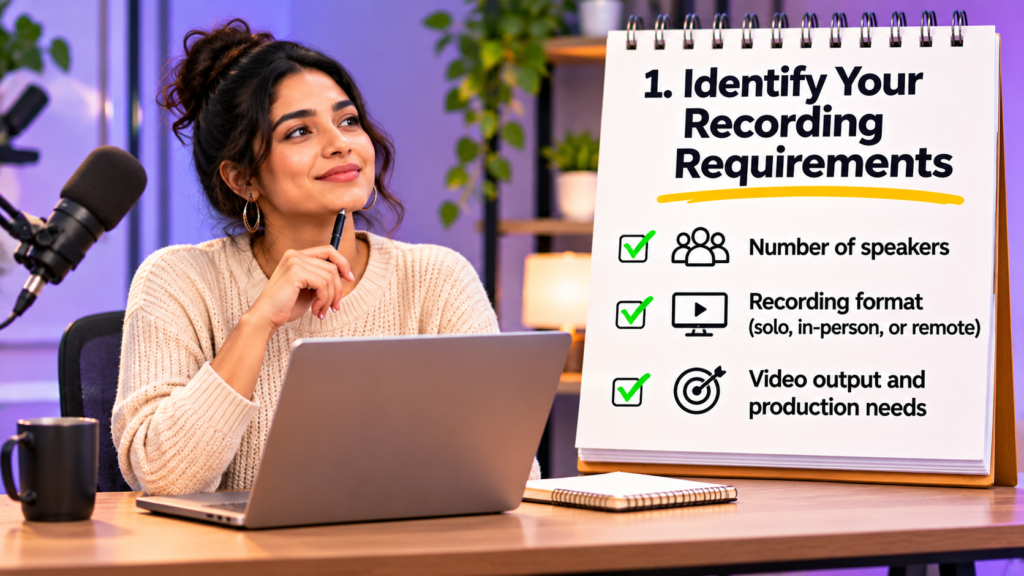
First, determine the number of speakers in the room, the recording environment, and the required video output. These will help decide what type of video podcast equipment and connectivity options your setup will require.
Match Video Podcast Equipment to Your Recording Format
If you are doing a podcast with one person, you will need to start with one microphone, one set of headphones, a camera, good lighting and something to record on. You could take your smartphone as your camera and have a computer record the audio. You will also need a means to synchronize both files.
If you have two speakers in the same room, use dual microphones and adequate simultaneous microphone inputs. One broad camera can shoot both speakers and the other cameras can film close-ups.
Remote visitors are required to have a good recording setup at their location. Please submit a video podcast equipment brief in advance of the session covering any requirements for microphones, headphones, camera framing and connections. Also, test internet speed for all guests and choose a stable connection. They should also test their recording software, check microphone and camera permissions and check available storage. You need to make a quick test call to verify the audio levels, the quality of the video, and recording options.
If possible, offer a backup recording option, and have guests use wired headphones. These checks help us avoid interruptions and reduce the obstacles of recording during the genuine debate.
Are you planning on recording interviews with guests in multiple locations? See our tutorial on how to record a podcast with remote guests for tips on getting your guests ready, testing their video podcast equipment and handling the recording itself.
Separate Essential Video Podcast Equipment From Upgrades
Start with video podcast equipment that addresses an actual recording requirement. A microphone stand helps maintain consistent positioning, while a second camera can wait until you need additional footage.
Recording setup | Essential equipment | Possible upgrades |
Solo desk | One microphone, headphones, camera, support, lighting, and recording system | Dedicated camera |
Two speakers | Two microphones, two inputs, headphones, one wide camera, and lighting | Close-up cameras |
Remote conversation | Microphone, headphones, camera, and recording connection at each location | Separate backup recording path |
These configurations are good beginning points but what’s best for you depends on how you plan to record and promote your podcast. If you are a beginner who records solo episodes sometimes, start with a decent USB microphone, wired headphones, a webcam or smartphone, and basic recording software. It’s a setup that keeps the costs at a minimum but meets your necessities.
If you routinely have people over remotely, ensure you have a different microphone for each speaker, good headphones, reliable internet connections and recording software that can handle distant participants. If you’re a creator filming interviews in person, you may get more value from a multi-input audio interface, extra microphones, and a camera that can clearly capture every speaker.
If you’re regularly publishing or producing professionally, you might want to upgrade to dedicated cameras, XLR microphones, an audio interface, stronger lighting and backup recording gear. These enhancements provide you with more control over the quality of the sound and visuals. First, look at what video podcast equipment you have now and then upgrade the parts that are limiting your recording process.
2. Build a Clear and Controllable Audio Setup
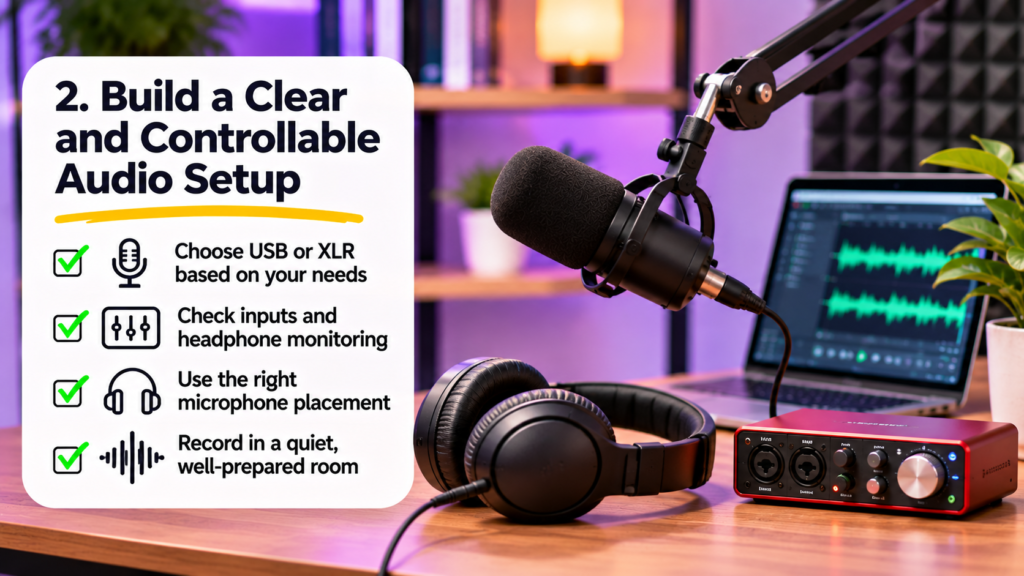
Audio equipment should allow you to hear understandable speech, have adjustable settings, and have a way to hear difficulties during recording. Follow the path the sound takes from the microphone to the saved file. Every connection needs a reason, and every speaker needs a practical technique to keep a constant perspective during the conversation.
Choose USB or XLR Around Your Recording Needs
USB microphones connect directly to compatible computers, while XLR microphones require an audio interface or recorder.
The Shure MV7+ user guide covers USB-C, passive XLR, and headphone monitoring. Its software settings do not affect the XLR output.
The microphone type and the pickup pattern also affect the quality of recording. A dynamic microphone is usually a wise decision in untreated rooms as it can assist in limiting the amount of ambient sound picked up. A condenser microphone can catch greater detail and is helpful in a controlled recording setting. Check out the polar pattern for the microphone before you buy. These cardioid microphones are built to collect sound mostly from the front, which is great for a lot of solo and interview situations. Point the mic toward the speaker. Try to keep a consistent distance from the mic when speaking for clearer results.
If you have several speakers, get an audio interface that can handle the number of microphone inputs you require. Your recording software is also a big part of the audio and video handling process. Take a look at our podcast recording software and tools guide to see what solutions are out there for different recording needs.
Check Inputs and Headphone Monitoring
Check how many microphones your interface can record simultaneously. Physical connectors do not always represent separate microphone inputs.
The Focusrite Scarlett 2i2 4th Generation guide explains that the interface has four physical analog connectors but supports only two simultaneous analog recording inputs. This means you can record up to two microphones at the same time.
Also, look at the headphone outputs before you decide on an interface. Headphones prevent the playback from the speakers from being picked up by microphones, creating background noise that you don’t want. Looking to improve your podcast audio setup? Check out our guide on 5 free tools podcasters need to know about for valuable tools and suggestions, including how to wear headphones while recording.
Always check a test recording. Direct monitoring lets you hear the microphone signals, but replay tells you if the audio was saved successfully.
Match the Room With Microphone Placement
Select a quiet room with furniture such as rugs, drapes, sofas or bookshelves to minimize sound reflections. Echoes can be created by bare walls, glass windows, tiled floors and large mirrors which can bounce sound about the room. Add thick drapes, carpets, cushions or acoustic panels to absorb some of the reflections. Don’t place your microphone next to hard walls or windows. Record a quick test and listen for echoes before buying more video podcast equipment.
Use a reliable microphone arm or stand and maintain the suggested distance for speaking. Record regular and louder speech to check for breath pops, desk noise and changes in volume.
A pop filter controls breath sounds and acoustic treatment reduces room reflections. If you have a lot of noise coming from the outside, you might want to go to another area or record at a different time.
3. Choose Cameras and Lighting that Work Together
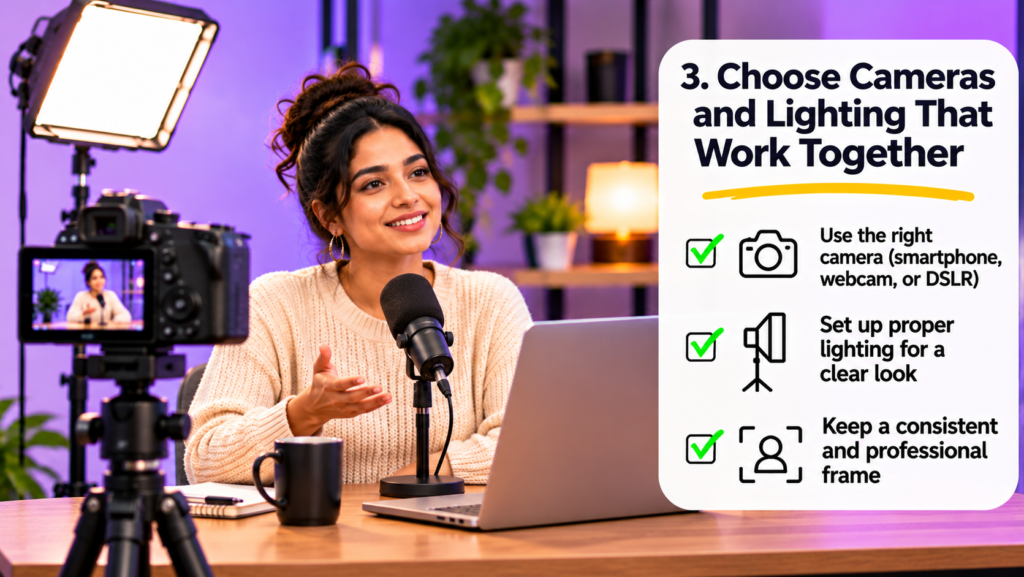
Your camera rig must provide the proper framing, lighting, recording time and connectivity. Begin with gear that gives you a steady look throughout the show.
Begin with a Smartphone or Webcam
A smartphone or webcam might be a good place to start recording video podcasts. Next, place your phone on a steady tripod/stand.
Clean the lens and keep it at eye level. Make sure your face is in the center of the shot, with a little extra above your head. Tap your face on the screen to focus and check the exposure. Record a short sample and examine the clarity, illumination and overall image quality.
Before you film the complete episode, please run through the following and check our video podcast checklist –
- Clear frame, camera at eye level
- Clean lens, focus is right
- Lighting designed to avoid harsh shadows
- Lots of storage and lots of battery
- A calm area to record with little distraction.
- Sample photo and sound quality check carried out.
A camera makes it easier to record video directly on your computer. Check the stored video to see if the actual recording is how you wanted it in the preview.
1080p is usually sufficient for most video podcasts, especially if you’re sharing on YouTube or social media. It gives you decent image quality without making file sizes and editing a problem. If you want more room to crop your footage, get close-up shots from a wider frame, or make a high-resolution master for the future, go 4K.
4K footage requires more storage, faster processing, and a computer capable of handling larger video files. Before you pick a resolution check your camera, recording software, storage capacity and editing system.
Check Full Connectivity of the Mirrorless Camera
More control over your recording comes with dedicated cameras. But check if your video podcast equipment has internal recording and supports USB video or HDMI capture.
For HDMI recording, Clean HDMI indicates that the output does not have any interface overlays. Elgato’s Cam Link 4K documentation has criteria for cameras, including clean HDMI and no runtime limits.
Review the camera, lens, HDMI cable, capture device, and computer connection. Also, check Elgato’s system requirements, which vary per hardware revision.
Test the camera as long as you plan to record. This helps you determine power, heat, and auto-shutdown problems.
Set Up the Lights for Clean Footage
Put a soft light source a bit above eye level and tilt it toward the speaker’s face. Then set it either in front of the speaker or, if you want, at that rough 45-degree angle so the lighting stays even. Try not to put bright lights right behind the speaker, because then the face can look dark. Adjust the light’s distance and brightness to reduce harsh shadows, glare, and overexposed areas. Also, you should keep the lighting consistent throughout the recording so the speaker’s appearance is consistent throughout the whole podcast.
Elgato’s key light guidance recommends placing a key light slightly above eye level and angled down.
Test lights on both faces for 2 speakers. Save a reference shot and make a note of the brightness settings for future recordings.
4. Complete Your Setup with Power, Software, and Storage
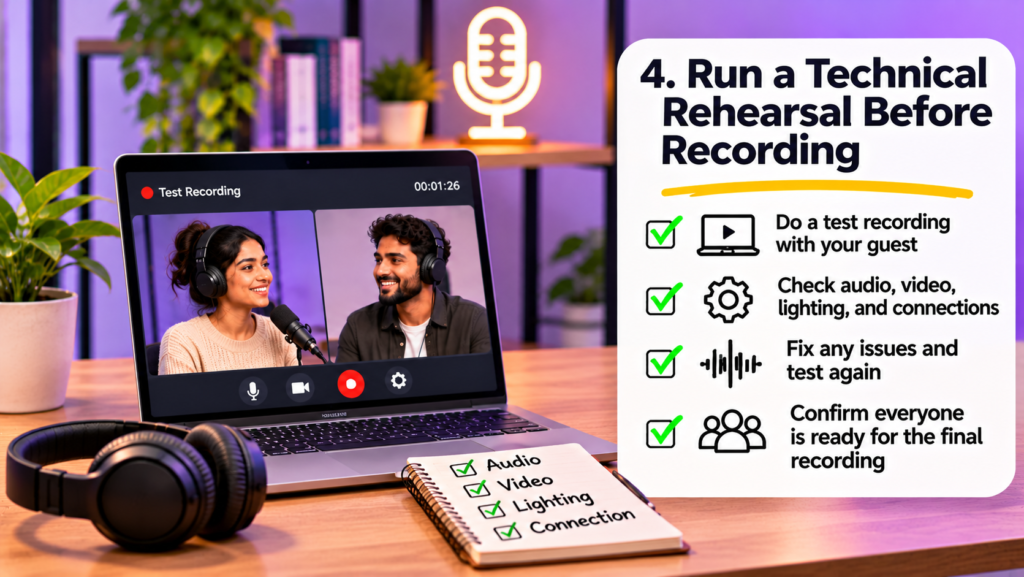
Production reliability is also impacted by cables, power supply, storage and recording parameters. Make sure you have these criteria before starting your recording session.
Prepare Power and Recording Connections
Use the power arrangement specified by the manufacturer, and keep any loose cords secure. Each adapter supports the needed signals.
Label each cable on both ends so you can easily tell what it is and where it goes. Use clear tags for mics, cameras, audio interfaces and power supplies. This helps to track connections and locate loose or damaged cables during troubleshooting.
Also, before you start recording, ensure every device is properly charged or plugged into a reliable power source. Don’t forget to check that your computer, cameras, and recording devices have enough free storage space for the whole session. Keep extra cords, spare batteries, and extra storage close by, so you don’t get interrupted mid-shot.
Check Recording Software and File Requirements
Before you start recording, make sure all your connected microphones and cameras are detected by the software. Choose the suitable audio and video inputs, confirm the recording format and quality settings, then decide where the files will be saved. Also verify that the app is really allowed to access your devices, and check you have enough storage left. Do a quick trial clip first, play it back to see if the audio and video look fine and the file output came out correctly.
Check before you record –
- Storage on each of the recording devices.
- Choose cameras and microphones.
- Separate or mixed audio recordings.
- Backup recording arrangements.
- Final location for transporting and storing files.
Note – If you have separate audio tracks you have more control while editing. For example, if a guest speaks quieter than the host, you can tweak their recording without adjusting the presenter’s level. You may also remove unnecessary interruptions or minimize background noise from a particular track. A mixed recording puts the speakers in one audio file, which limits these adjustments. If you frequently have more than one person on your podcast, check to see if your program and recording interface allow for isolated tracks before you begin a session.
Want to improve your remote recording quality? Explore our guide on recording a podcast remotely with professional audio quality for more practical microphone and room setup recommendations.
Evaluate the Airmeet Podcast Against Your Requirements
If you’re a creator who records interviews, expert discussions, or remote podcast episodes, you need an approach that makes recording and broadcasting manageable. Airmeet Podcast is built for studio-quality podcast production and distribution to numerous platforms. If you want to host remotely and keep your podcast production in one spot, it might be worth checking out.
Airmeet Podcast is designed to make it easy to record and distribute content for creators who often do distant interviews. The planned flow would involve recording the podcast remotely, editing it, repurposing the content, and preparing it for distribution. This might let creators adapt one expert talk into a full-length program, shorter video segments and supporting content for different channels. You can explore Airmeet Podcast for product updates and availability.
5. Assemble and Test Your Complete Video Podcast Setup
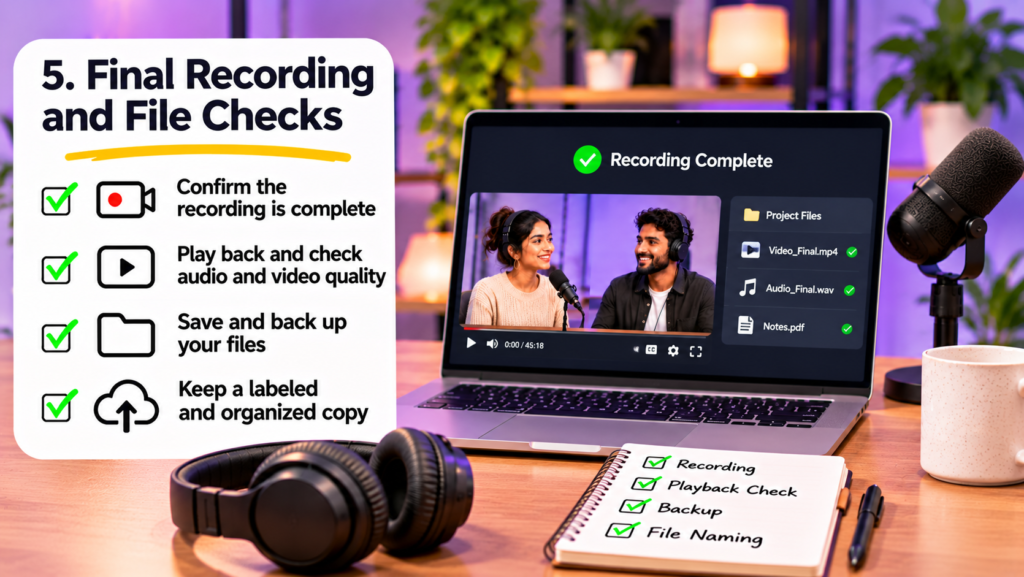
A rehearsal turns a collection of devices into a recording system you can trust. Use the same room, speaker positions, power arrangements, and application settings planned for the episode. Check both the captured result and the effort required to run the session before deciding which video podcast equipment deserves another purchase.
Follow the Signal From Each Speaker to a Saved File
After completing the checklist, go back and look over the saved recordings carefully. Make sure every microphone picked up clear audio, with no distortion, no background noise, and no sections. Also double-check that the video stays sharp and that it’s synchronized with the sound, especially right after the clap reference.
If you recorded separate audio tracks, confirm each speaker really has their own individual track. Also, verify that the files play correctly from your backup location. This playback review helps identify problems that may not appear during a live recording preview. Fix anything you find, then repeat the test before you start recording your first episode.
Before recording your first episode, review the ultimate video podcast checklist for additional checks covering guest preparation, sound quality, camera framing, lighting, and recording readiness.
Identify the Problem Before Upgrading
You can use your test recording to determine the portion of your setup that needs changes. If voices sound far away, examine the location of the microphone and the acoustics of the room. If the video looks grainy, change the illumination before you change your camera. If you can’t change the audio for each speaker individually, check your recording program and track settings.
Note the problem, make a small correction, and take another test. You can also test or borrow another device to see if the results are better. As your recording needs grow, invest in additional equipment that supports your production requirements.
Conclusion – Build a Reliable Setup
Choosing the best video podcast equipment starts by understanding how you’ll record, who will participate, and the quality you desire for each episode. Your setup needs to accommodate your recording format and make production easier as your podcast grows.
Before you spend more money on new gadgets, try what you already have in actual recording conditions. Do a couple of takes, then check sound, video, connectivity and even the file quality. Begin with the basics and build your setup out as your production demands develop. The aim is to build a reliable recording system that records crisp talks and offers you files ready for editing and publishing.
Frequently asked questions
Two people can share one microphone, but each person’s distance and speaking direction become harder to keep consistent. A shared recording also limits independent adjustments later. Test your actual seating arrangement before buying. For recurring interviews, separate microphones are a practical recommendation when the budget and input capacity allow them.
A wireless microphone is worth considering when speaker movement or concealed cabling matters to your production. For a seated conversation, compare that convenience with battery management, charging, and any additional receiver connections. Test clothing noise if you use a lavalier microphone, as well as the complete route from the transmitter to the saved recording.
A beginner can start with a USB microphone, wired headphones, a smartphone or camera, a steady tripod and basic lighting. You’ll also need software to record and somewhere to save your episodes. This setup is good for solo and easy interview recordings.
If you are using an XLR microphone with a computer-based recording setup, you will require an audio interface. It connects the microphones to your computer and turns the audio signals they pick up into digital files. USB microphones plug straight into a computer and typically don’t need a separate interface.
1080p is enough picture quality for most video podcasts. It also makes it easier to control file sizes and editing requirements. Go with 4K for more cropping options, or a higher resolution master.
If you don’t want sound leaking into your microphone, then closed-back headphones are a good alternative. They also help speakers keep track of their own voices during recording and background noise. Pick a pair that’s comfy for long recording sessions.