




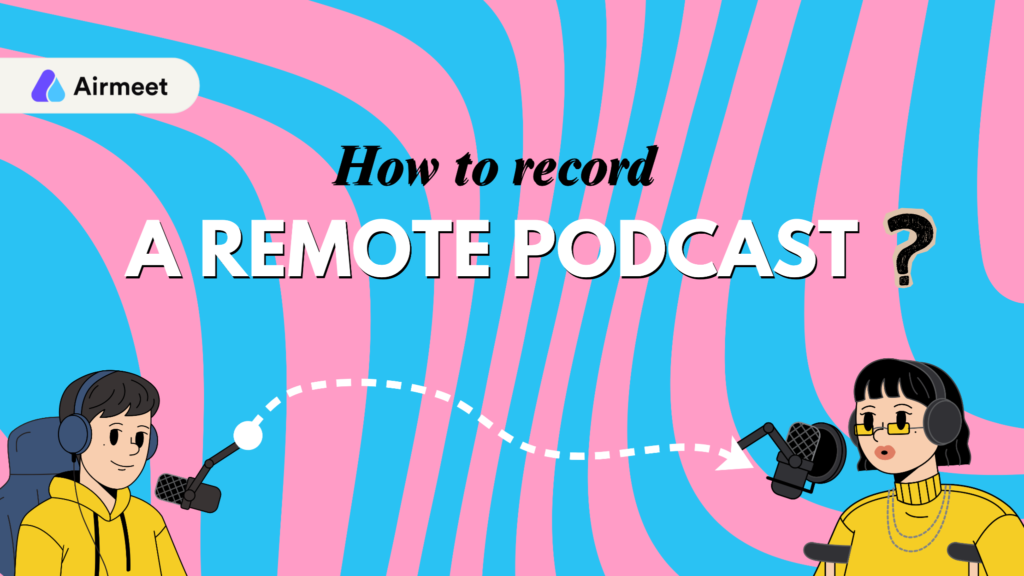
Want to know the ‘how’ behind recording a remote podcast that has the ambience and sound quality of a regular podcast? Keep on reading.
How To Record A Professional-Sounding Podcast Remotely
Recording a polished, business-like podcast remotely may seem difficult, but with a few simple steps and setups, it becomes easier.
But before you start, you need to understand what studios use to produce high-quality podcasts. A professional podcast setup usually comes down to clean audio, consistent video, and a recording environment that keeps distractions under control. You do not need a full recording studio in your home.
Here is how you can set up your remote podcast from start to finish.
1. Pick The Right Recording Platform
Your recording platform is key to the quality and reliability of your podcast. A regular video call works for a casual conversation, but dedicated recording software gives you control over the production.
And for a remote podcast, look for a platform that lets your guests join easily while you have the control over the recording experience.
Tools like Airstudio, a desktop recording and streaming studio, are designed for video podcasts, interviews, and other recorded shows. With such tools, you can let your remote guests into the studio through a browser link without asking them to install any additional software.
Airstudio, specifically, supports
- Layouts
- Overlays
- Logos
- Banners
- Screen sharing
- Virtual backgrounds
- Multistreaming
This can be especially useful when you are interviewing guests from different countries or working with speakers who are unfamiliar with your production setup.
Before recording your first episode, spend some time exploring Airmeet’s guide for podcasters. It walks through the recording workflow, including session settings, branding, remote guests, and accessing your finished recording.
2. A Quiet Recording Space = Minimal Sound Edits
Don’t blame your microphone if the room is full of background noise.
To get a professional recording, a quiet room with soft furnishings will give you a good head start. Curtains, carpets, sofas, and other soft surfaces can help reduce reflections and make the recording sound more natural, as they absorb sound better and eliminate echo.
But why is having a quiet place to record essential? Because everyday sounds such as air conditioners, refrigerators, pets, and movement are easily caught by your microphone. So, use spaces such as spare bedrooms or closets when they are available.
Before your recording begins, give the following two things a check.
- Close windows and doors.
- Turn off anything that creates a constant noise in the background.
Ask your guest to follow the same approach. You can send them a short recording checklist below before the interview.
- Choose a quiet room
- Keep phone on silent
- Close unnecessary applications
- Avoid sitting directly beside a window
3. Don’t Let Your Mic Ruin The Conversation
Your remote podcast setup is incomplete without a microphone. But what microphone should you choose?
A dedicated USB microphone is usually a convenient option for beginners because it can connect directly to a computer. For more advanced setups, try XLR microphones with an audio interface.
But the right choice comes down to your show format, budget and recording environment.
Also, a simple thing you can follow to get clear audio is positioning your microphone at the right distance.
The microphone should sit close enough to your mouth to capture your voice clearly. At the same time, it should not be so close that breathing sounds or plosives become distracting.
For a dynamic microphone, record in a quiet, soft-furnished space and speak around 3-6 inches from the microphone.
A pop filter can help reduce harsh bursts of air caused by sounds such as “P” and “B.” And having a stable microphone stand can prevent desk vibrations from reaching the recording.
Your guest should ideally use an external microphone too. If that is not possible, encourage them to use a wired headset microphone or another reliable external audio source.
It is better to discuss your guest’s equipment before the interview. If professional equipment is unavailable, a wired earbud microphone can sometimes provide a better result than a laptop’s built-in microphone.
4. Headphones Are A Must For Everyone
Headphones are essential when recording a remote podcast.
Without headphones, your guest’s voice can come through your speakers and get picked up by your microphone. This creates echo and makes the recording much harder to clean up later.
Ask everyone to wear headphones throughout the conversation.
Closed-back headphones can be useful because they provide isolation while allowing the speaker to monitor their audio. They are also a necessary piece of equipment for real-time monitoring during recording and editing.
Wired headphones are also worth considering for remote recordings. Spotify for Creators notes that wired headphones can provide more consistent monitoring than wireless headphones because they avoid potential Bluetooth interruptions.
Before you begin, ask everyone to check that their headphones are connected to the correct device.
This small step can prevent a frustrating problem later.
5. Get Your Camera & Lighting Right
If you are recording a video podcast, audio is only half of the experience.
Your camera should be positioned close to eye level. This positioning creates a natural frame, which makes the conversation feel direct for viewers watching the finished episode.
You do not necessarily need an expensive camera. A modern webcam or smartphone can produce good results when the lighting is handled properly. Spotify for Creators lists smartphones, webcams, DSLRs, and camcorders among the possible camera options for podcast creators.
Try to place your main light in front of you rather than behind you. A window can work well as a natural light source, although direct sunlight can change throughout the recording.
Your background should also fit the tone of the podcast. For a business interview, choose a clean home office, and with a simple branded background, you can create a consistent visual identity across episodes.
For such branding experiences, you can choose Airstudio, which directly lets you add visual elements such as logos, overlays, banners, and virtual backgrounds to your recording setup.
This helps you maintain a consistent visual identity even when your guests are joining from completely different locations.
6. Send Your Guest A Recording Checklist
A guest should never have to figure out your recording setup five minutes before the interview.
Send them clear instructions in advance.
Your checklist can include:
- Join using the latest version of your browser
- Use a laptop or desktop when possible
- Connect your microphone before joining
- Wear headphones throughout the recording
- Find a quiet room
- Keep your phone on silent
- Close unnecessary applications
- Check your camera before joining
- Keep a glass of water nearby
- Join around 10 minutes early
Clear communication also makes the interview itself easier to manage. Spotify for Creators recommends organizing the logistics in advance and giving guests clear information about the interview, joining instructions, and timing. It also suggests sharing questions ahead of the recording when appropriate.
Airstudio allows guests to join through a browser link, which makes the technical process easier for people who are unfamiliar with your recording workflow.
7. Run A Test Before Recording
Never make your first test the actual podcast.
Spend a few minutes checking everyone’s microphone, camera, headphones, internet connection, and recording settings. Ask each guest to speak for around 20 seconds. Listen carefully to their audio. Check for background noise, echo, distortion, low volume, and microphone interference. It is also worth checking your framing before you begin. Make sure faces are visible and the camera angle feels natural.
You should run a short test before recording and should also check your levels so you can catch problems before the actual conversation begins. If something sounds wrong, fix it before the interview starts.
A short test can save you from losing an entire conversation because one microphone was accidentally set to the wrong input.
8. Don’t Let Bad Wi-Fi Kill The Interview
What most people overlook is a stable internet connection. Internet connections can absolutely make or break the experience, especially in remote podcast setups.
So, a few simple measures can prevent “Sorry, I can’t hear you, your video is blurry.”
- First and foremost, before the interview, test your connection. And do not forget to ask your guest to do the same.
- If your Wi-Fi router is far from your recording space, move it closer.
- A wired connection can also be useful when available.
- You should also avoid downloading large files or running unnecessary applications during the recording.
Such small precautions reduce the chances of interruptions.
9. Click Record
Once everyone is ready, explain how the conversation will work.
Start with a short introduction and give your guest a moment to settle in. Remote conversations can feel slightly different from in-person interviews, especially when there is a small amount of internet latency.
Avoid speaking over your guest whenever possible. Give them a moment to finish their answer before asking the next question.
If you make a mistake, pause for a second and repeat the sentence. There is no need to restart the entire episode.
If you are using Airstudio, you can bring your remote guest into the recording through a browser link and manage the production setup from your studio.
10. Keep A Backup Recording
Technology can fail. Your internet connection may drop. A browser may crash. A microphone may stop working. Your computer may suddenly decide that the correct audio input is the one you have never used in your life.
And that’s where a backup can protect your recording from these problems.
It is recommended to have more than one way to record when possible, particularly when recording remotely. Keep your primary recording setup running as planned while asking the host or guest to make a local backup when practical.
For particularly valuable episodes, ask your guest to record a local copy of their audio. This gives you another source if the primary recording has an issue.
11. Now, Clean Up The Recording
Once the recording is complete, the work is only partly finished.
Listen through the full recording before editing and mark long pauses, repeated sentences, obvious mistakes, distracting background sounds, and sections that do not contribute to the episode.
But keep the conversation natural. Removing every pause can make people sound robotic. A few natural pauses help the conversation breathe.
You should also make sure the volume remains consistent between speakers. A guest who sounds much quieter than the host can make an otherwise excellent interview uncomfortable to listen to.
Keep the editing process simple and focus on clarity.
12. Prepare The Episode For Distribution
Once the recording is edited, prepare the assets. Start with a catchy title and a description. Then create short clips from the full recording for social media. Pull out moments that contain insights, interesting opinions, or memorable answers.
Spotify for Creators recommends using episode highlights across social media, email, and other promotional formats to extend the reach of the original recording.
Airmeet can support this wider content workflow too. A recorded session can be used for replay access, short clips, show notes, and social assets, depending on the features available in your setup.
Final Thoughts
Recording a podcast with remote guests does not require a traditional studio. It’s a misconception among aspiring podcasters that they are required to build a traditional studio setup for recording remote podcasts.
The essentials can be narrowed down to 5 must-haves
- A reliable recording platform
- A good mic
- Quality headphones
- A quiet room
- Proper lighting
With these things, you can create a professional recording from almost anywhere. Spotify for Creators and Shure both emphasize that remote creators can produce quality recordings with a relatively simple setup when they prepare their recording environment and equipment properly.
And it shows up in the operations and processes, for e.g., you can invite experts from different cities or countries without asking them to travel and your guests can easily join from their own spaces while you maintain control over the recording environment.
With Airstudio, having a dedicated recording setup has become much easier. You can also invite remote guests through a browser link, add your branding, and record your podcast from your desktop.
Once your recording is complete, the same conversation can support your wider content strategy through replays, clips, social content, and other formats.
The result is a podcast workflow that is easier to repeat and easier to scale as your show grows.
FAQ
Ask everyone to wear headphones throughout the recording. Recording in a room with soft furnishings can also reduce sound reflections. Make sure your microphone is not picking up audio from your computer speakers.